# Common Pages
# In-app Messaging
In the SweldoNow app, there is a common messaging tool available at the bottom of every details page. This messaging tool serves as a communication channel between users within the app.
The purpose of the messaging tool is to facilitate seamless and efficient communication between different stakeholders involved across various functionalities, including payroll processing, attendance management, and more. It allows users, whether they are the page owner or the approver, to send messages to each other directly from the details page.
The messaging tool is important as it provides a centralized and convenient means of communication, eliminating the need for external email or messaging platforms. It enables users to quickly discuss and resolve any payroll-related queries, clarifications, or concerns in real-time. This promotes collaboration, transparency, and effective decision-making throughout the payroll processing workflow.
# Traceability Tool
In the SweldoNow app, there is an Activities History tool located at the bottom of every details page, alongside the Messaging tool. The Activities History tool serves as a comprehensive tracker that records and displays all the activities related to a specific page.
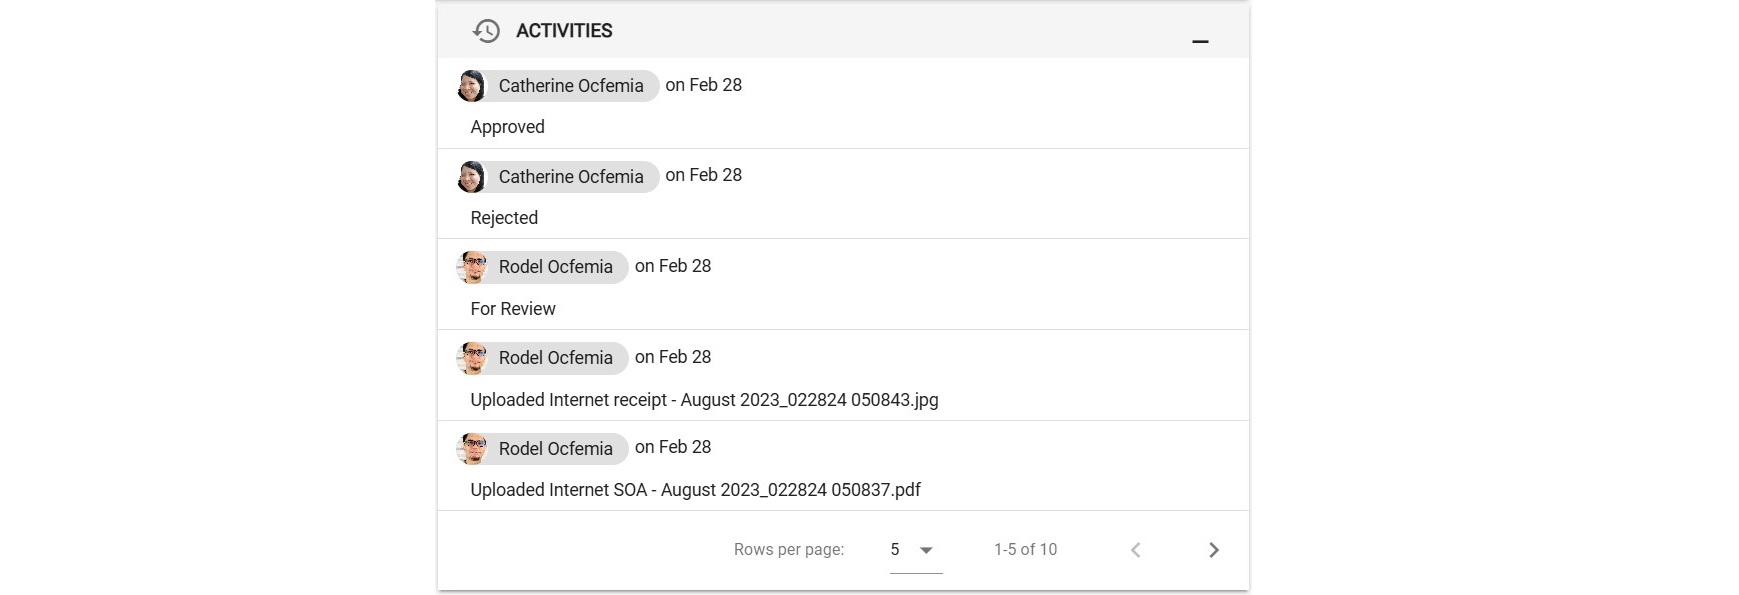
The purpose of the Activities History tool is to provide a transparent and traceable record of all the actions performed on the page. It captures important events such as the creation of the page, changes in status, updates to attendance records, report generation, and any other relevant activities associated with the page.
The Activities History tool offers a valuable source of traceability and audit trail within the SweldoNow app. It enables users to review and track the chronological sequence of events, ensuring accountability and transparency across various functionalities, including payroll processing, attendance management and more.
# User Settings
User Settings allow you to customize the page theme, manage 2 Factor Authentication, and change your password.
# Theme
- To change the theme color, simply click on the corresponding colored button. The changes will be applied immediately.
- To switch to dark mode, click on the black button. To switch back to light mode, click on the white button.
# 2 Factor Authentication
2-Factor Authentication (2FA) is a security feature that adds an extra layer of protection to your account. It is enabled by default for enhanced security. The purpose of 2FA is to ensure that only authorized individuals can access your account, even if they have obtained your login credentials.
The importance of 2FA lies in its ability to mitigate the risk of unauthorized access to your account. By requiring a second verification step, typically through a separate device or application, 2FA provides an additional level of security beyond just a username and password. This helps to protect sensitive information, prevent unauthorized transactions, and safeguard your personal data from potential cyber threats.
It is strongly recommended to keep 2FA enabled at all times to maintain the highest level of security for your account. Disabling this feature should only be done if there are exceptional circumstances and after carefully evaluating the associated risks.
Please note that if you disable 2FA and log in from a different device, the feature will be automatically enabled again to ensure the ongoing protection of your account.
# Change Password
To change your password, click on the Change Password button. You will be redirected to the Change Password window where you can enter your new password.
# Notifications
Notifications are generated for a range of workflow activities, for example updating time off request to for review, rejections, approvals, and comments posted on workflow items. To access your notifications, locate and click on the bell icon located in the upper right corner of the page.
# Applying filter
By default, the ten most recent notifications will be displayed. To view older notifications, click on the downward arrow button To filter unread notifications specifically, click on the Unread button. Additionally, you have the option to mark all messages as either Unread or Read by using the corresponding buttons in the toolbar section.
# Viewing notification details
To view the details of a notification, simply click on the notification record. This will redirect you to the corresponding workflow item. For instance, if you receive a notification regarding a request for review of a time off, clicking on it will take you to the time off details page.
# My Dashboard
The Dashboard page is divided into two sections: "My Recent Attendance" and "My Favorites."
My Recent Time Logs:
This section displays your clock-in and clock-out times, and remarks for specific days. It shows your attendance for the last 14 days, sorted by the most recent day.- If you haven’t clocked in, the remarks field will display a "Clock-In" button for quick access.
- Once you’ve clocked in, the section will show your Total Chargeable Hours, which typically should be 8 hours before clocking out.
My Favorites:
This section lists all the pages you’ve marked as favorites. Each favorite is displayed as a clickable link or chip, allowing you to quickly navigate to your desired page.
# My Profile
To view My Profile page, simply click on the avatar icon from upper left navigation.
# Change Avatar
- To change your avatar, click on the camera icon. A popup window will appear.
- You have two options to update your avatar:
- Browse and upload a picture from your device
- Take a selfie using your device's camera
# Personal Details
The Personal Details section displays your name, employee ID, position, and contact details. Note that editing these details can only be done by the administrator or an authorized person.
# Assignment
In the Assignment section, you can view information about your team, supervisor, and workshift. Editing these details is restricted to the administrator or an authorized person.
# Employment
The Employment section provides details such as your employment type, start date, TIN No, SSS No, Pagibig No, and Philhealth No. Please note that editing these details can only be done by the administrator or an authorized person.
# Bank Details
In the Bank Details section, you can view your account number and the branch where your payroll will be credited. Editing these details is restricted to the administrator or an authorized person.
# My Calendar
My Calendar provides a convenient way to track your clock-in and clock-out times, work shifts, and time-off records, all displayed in a clear calendar view. By default, the calendar shows the current month when you access the page. You can easily navigate to previous or future months as needed.
To access the My Calendar page in the SweldoNow app, follow these steps:
- Click on My Attendance from the left navigation menu.
- On My Attendance menu page, select the My Calendar card from the available options.
- The My Calendar page will be displayed, showing a calendar view of the current month.
- You can navigate to previous months or future months by using the navigation buttons.
- On the calendar, each day will display information such as clock-in and clock-out times, holidays, or time off, if applicable.
- To view the details of a specific day, locate the menu button (usually represented by three dots) beside the date and click on it.
- From the menu options, select the View Details icon or a similar option.
- You will be redirected to the My Attendance Daily page for the selected date, where you can access more detailed information about that specific day's attendance records, including clock-in and clock-out times, total hours worked, and any relevant remarks or notes.
# Team Calendar
Team Calendar allows you to view holidays and your team members’ time-off records, all displayed in an easy-to-navigate calendar view. By default, the calendar shows the current month when you access the page. You can quickly switch to previous or future months as needed.
To access the Team Calendar page in the SweldoNow app, follow these steps:
- Click on My Team from the left navigation menu.
- On My Team menu page, select the Team Calendar card from the available options.
- The Team Calendar page will be displayed, showing a calendar view of the current month.
- The calendar will include information such as holidays, team members' time off, birthdays, and other relevant team details.
- You can navigate to previous months or future months by using the navigation buttons.
- Each day on the calendar will display any team-related events or details for that specific day.